Homemade Apple Tart
Autumn in Ireland feels a little more special when apples are in season. Right now, the trees and markets are full of them, and it’s the perfect excuse to bake something simple and comforting. There’s nothing quite like peeling fresh apples, rolling out buttery pastry, and filling the kitchen with that sweet, spiced aroma as the tart bakes. This homemade apple tart celebrates the best of the season — rustic, wholesome, and perfect to share with a cup of tea.
✨ About This Tart
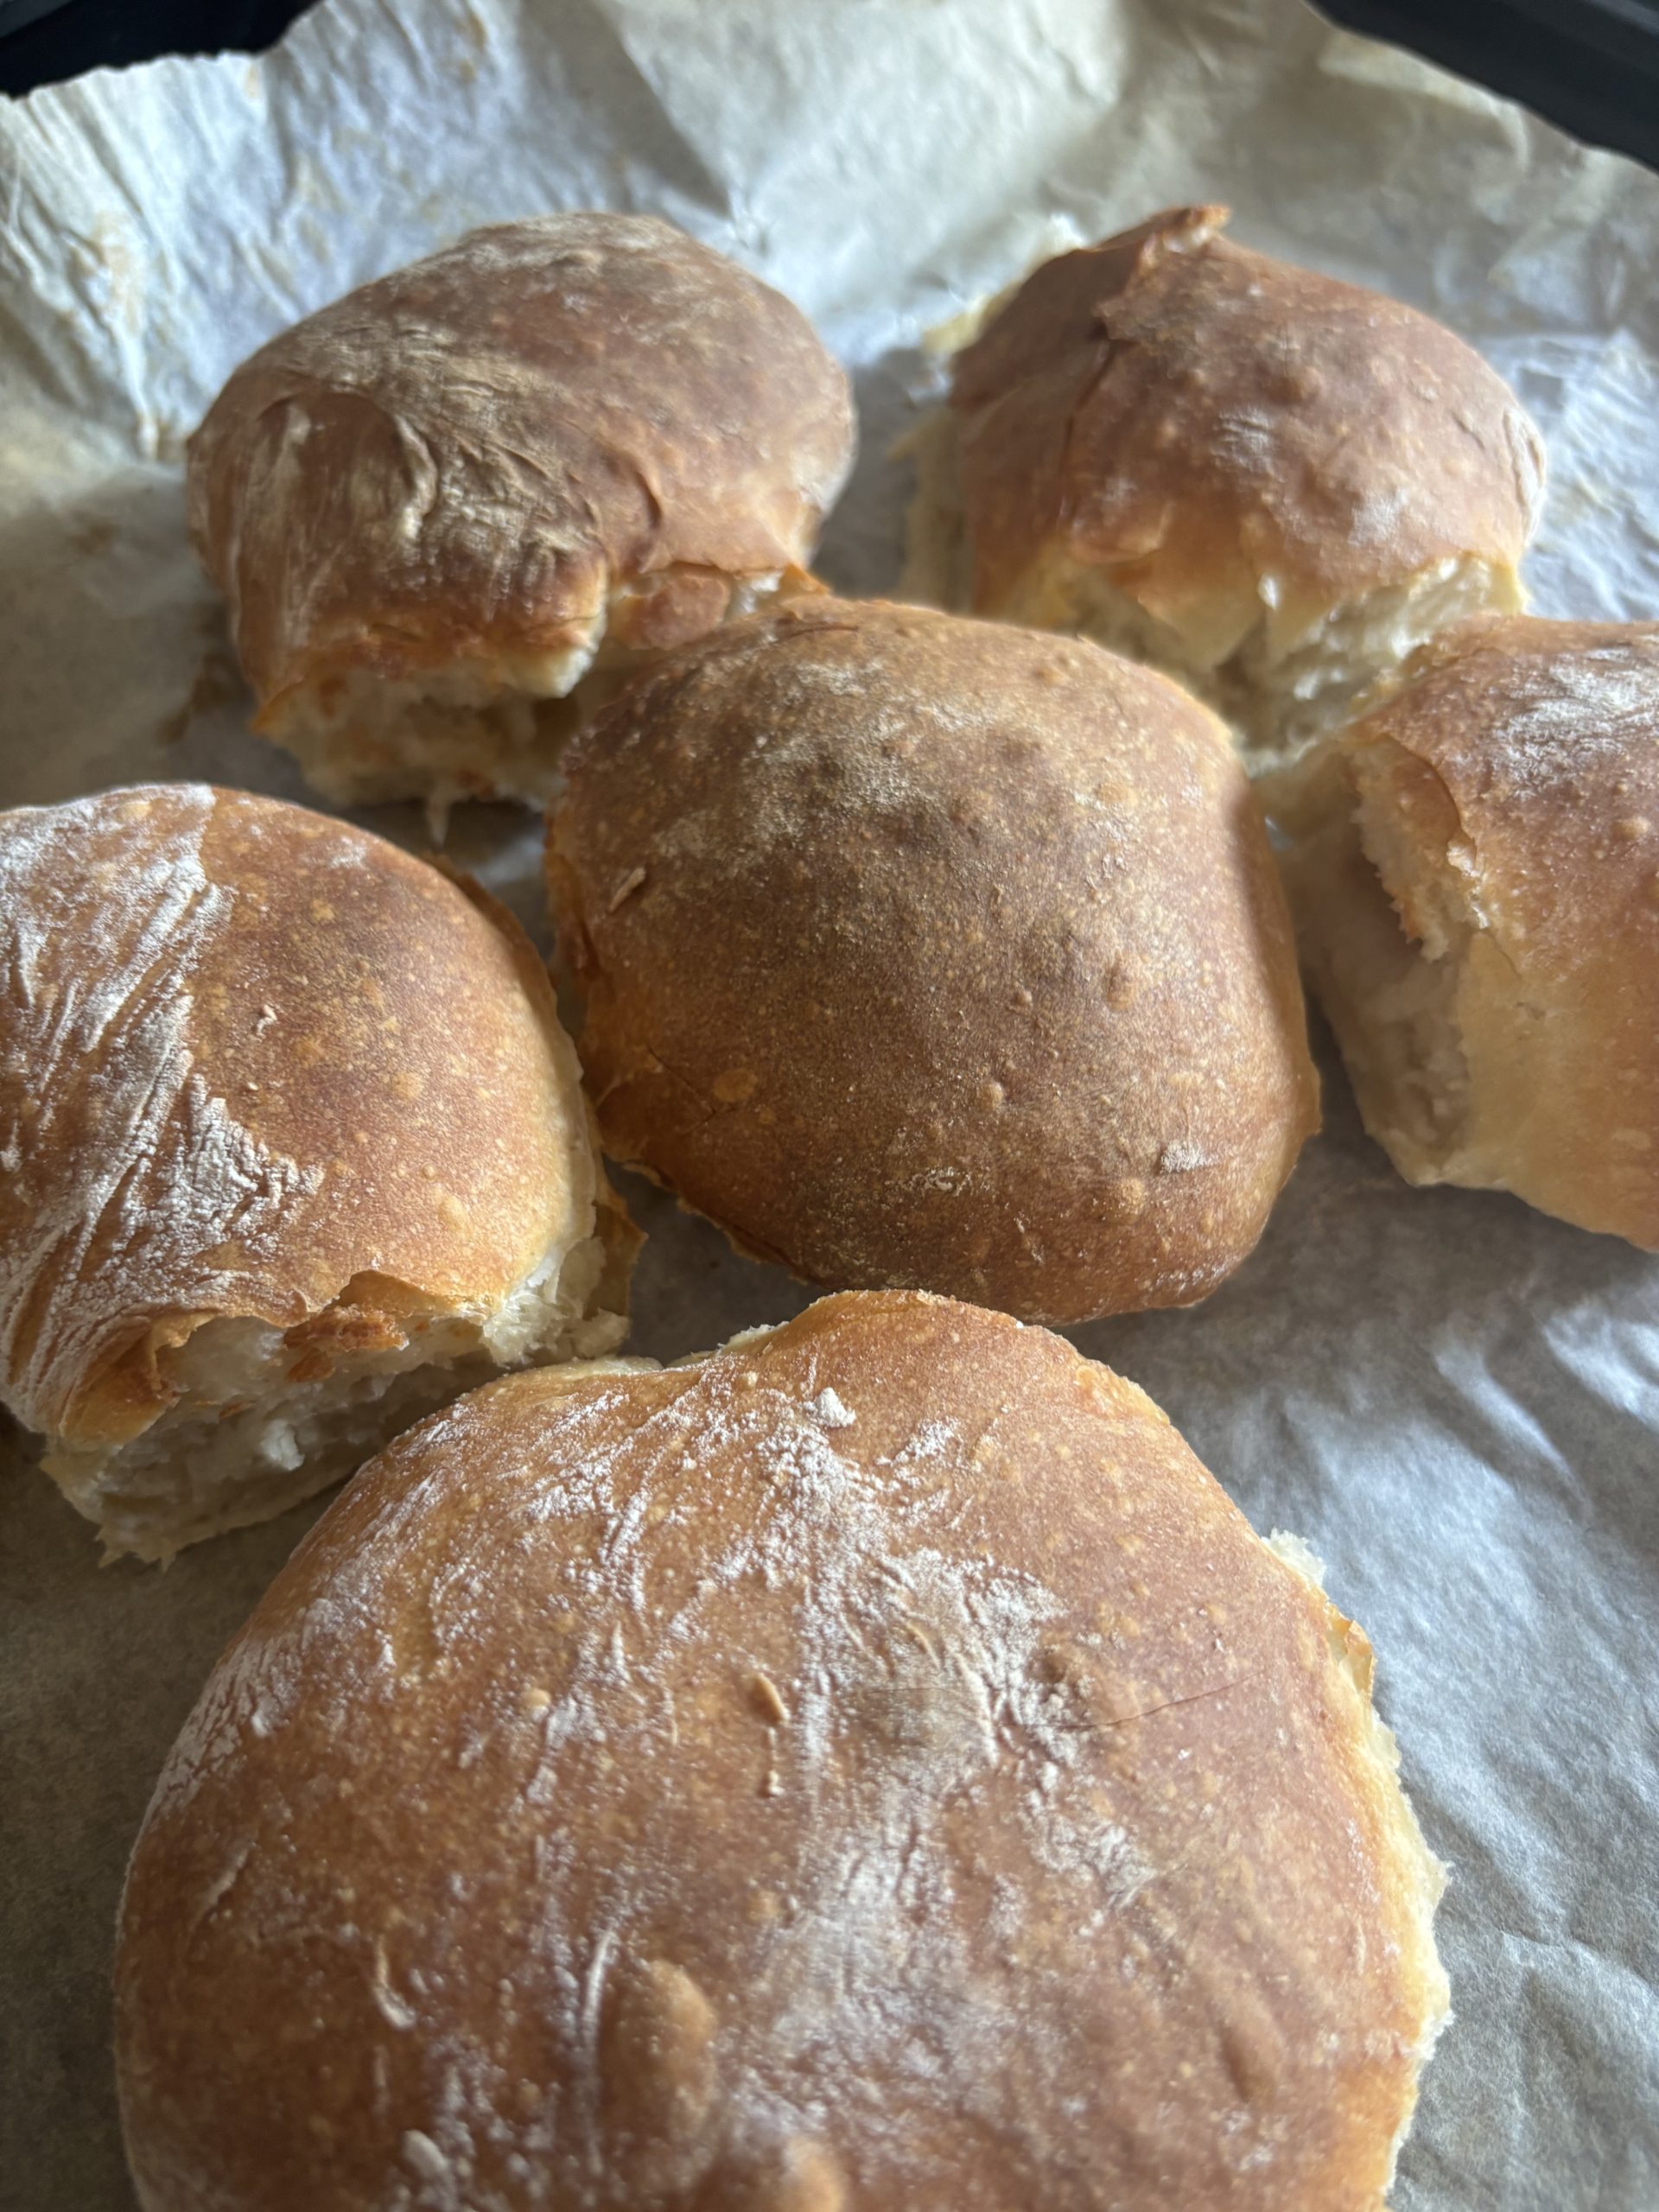
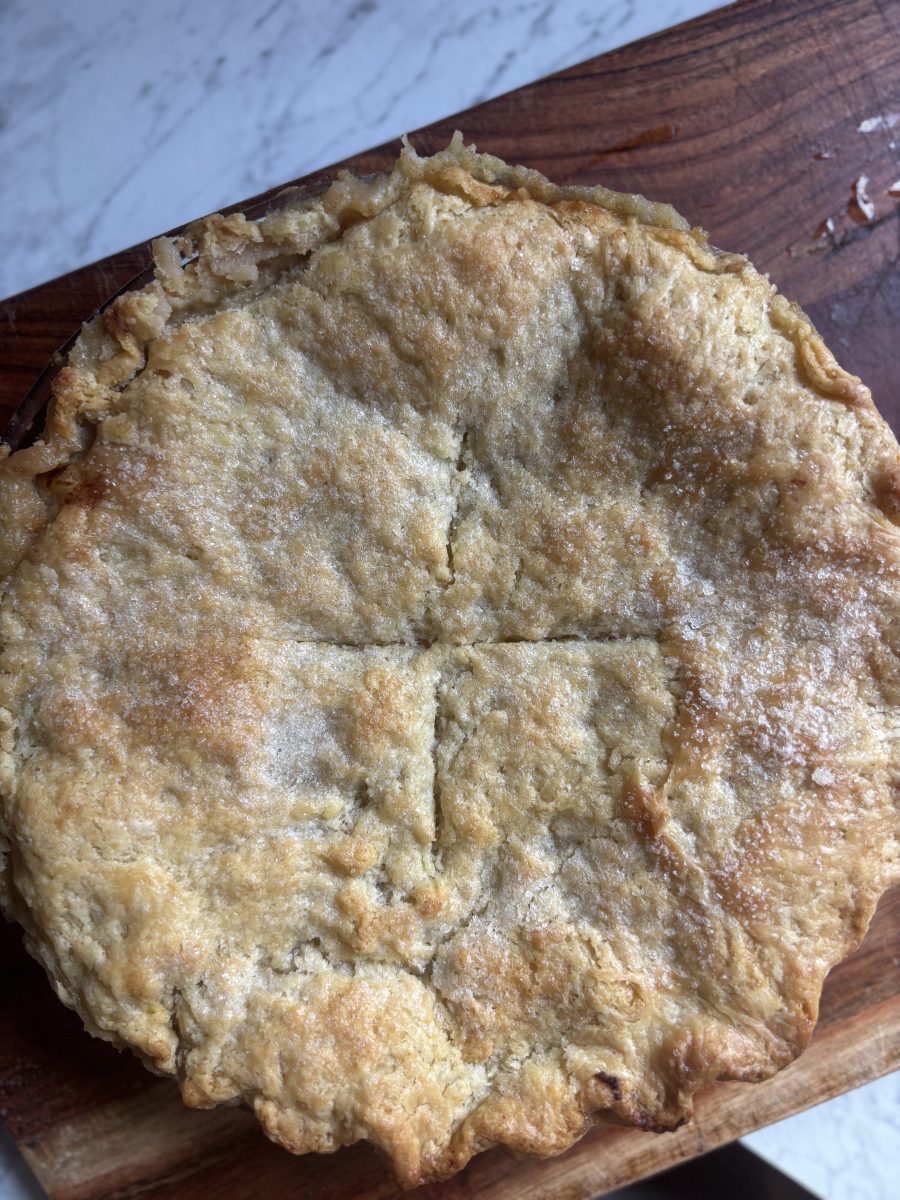
What makes this apple tart special is its simplicity. The pastry is rustic and buttery, the filling not too sweet, and the apples are allowed to truly shine. Every bite has a satisfying contrast of textures — crisp, golden pastry on the outside, and soft, tender apple slices on the inside, lightly sprinkled with sugar for a touch of sparkle.
🛒 Tips for Ingredients
- Apples: Bramley apples are perfect if you like a tart flavour, while sweeter dessert apples work beautifully if you prefer a milder taste.
- Pastry: Making it from scratch gives a richer, flakier texture, but store-bought pastry can be a convenient shortcut if you’re short on time.
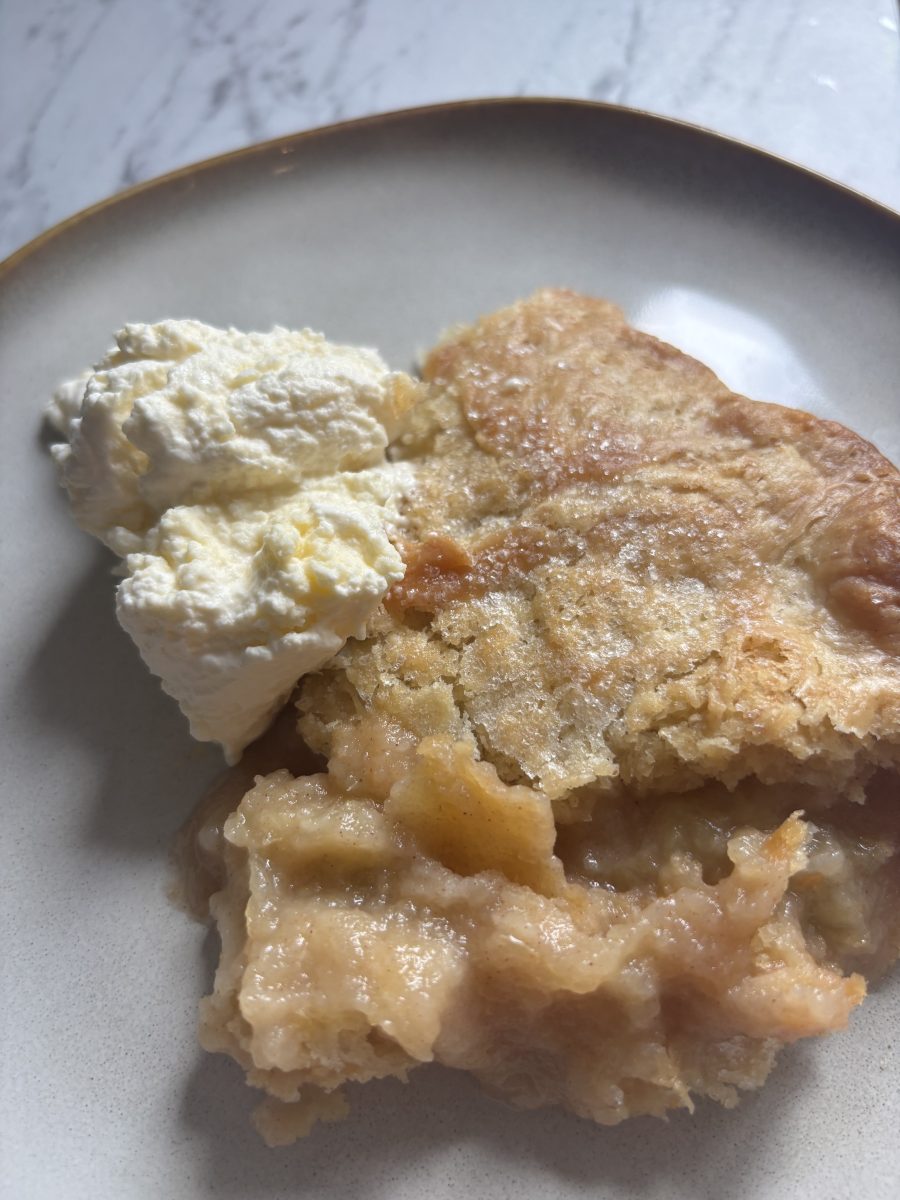
🍽 Serving Suggestions
This tart is best enjoyed warm, straight from the oven, with a little fresh cream, custard, or a scoop of vanilla ice cream. It’s simple, seasonal, and utterly comforting — the perfect way to celebrate autumn in Ireland.

Traditional Homemade Apple Tart
Ingredients
Equipment
Method
- In a large mixing bowl, combine the flour, sugar, and salt.
- Add the cold, cubed butter and rub it into the flour with your fingertips until the mixture resembles coarse breadcrumbs.
- Gradually add the cold water, mixing gently with a knife or your hands, until the dough just comes together.
- Place two sheets of cling film side by side on your work surface. Empty the mixing bowl onto one of them, scraping the sides with a spatula. The pastry will be crumbly and uneven. Quickly pat together without overworking the dough then cut in half with a spatula.
- Transfer one half of the pastry to the other piece of the cling film and shape both halves into balls and flatten.
- Wrap them up tightly and pop in the fridge for 1 hour.
- Next to make the filling. In a large bowl, stir together 55g sugar, cinnamon and flour. Set aside.
- Peel core and cut apples into thick slices.
- Place the apples in a medium saucepan 55 g sugar, 1 tsp cinnamon, 2 tbsp (15 g) flour, and 1–2 tsp lemon juice.
- Add just enough water to cover the bottom of the pan (about ½ cup / 125 ml) to prevent sticking
- Gently cook over medium heat for 5–10 minutes, stirring occasionally, until the apples are just tender.
- Preheat oven to 220 °C. Grease a pie pan approx. 9 inches and set aside.
- Roll out half the pastry between two sheets of parchment paper into a circle (approx. 13 inches), make sure to work quickly and handle the dough as little as possible to keep it cool and easy to work with.
- Peel off one sheet of parchment paper and line the prepared pie pan with pastry, pastry side down. Carefully peel off the top sheet of parchment paper. If the paper sticks, place the pie pan in the refrigerator for a couple of minutes to cool the pastry allowing easy removal of the parchment paper.
- Add cooled apples to the pie pan lined with pastry. Roll out the other half of the pastry the same as above. Peel off one sheet of parchment paper and lay the pastry over the apples. Carefully remove the second sheet of parchment paper as described above.
- Seal pie crust by pressing down on the pastry, trimming the excess pastry to 1/4 inch from the pie pan. Crimp pastry edges and sprinkle the top of the tart with 1-2 tbsp sugar.
- Cut a few slits in the top crust with a sharp knife.
- Bake for 15 minutes at 220 °C. Then reduce temperature to 180 °C and cook for a further 30 minutes until the tart is golden brown.
- Allow the tart to cool for one hour before serving warm or at room temperature.
Notes
And that’s it — your homemade apple tart is ready to enjoy! I know there are quite a few steps, but each one is worth it for a tart that’s full of flavor and autumn comfort. If you give this recipe a try, I’d love to hear how it turns out — feel free to leave a comment or share a photo! ❤️